
 Quality garden equipment & accessories since 1954
 Free UK Delivery on orders over £100
 30 Day returns policy
Preparing Your Vegetable Garden for Spring: A Guide for Beginners
- Admin
- WM James Gardening Blog
- 26 Nov 2025
-
6views
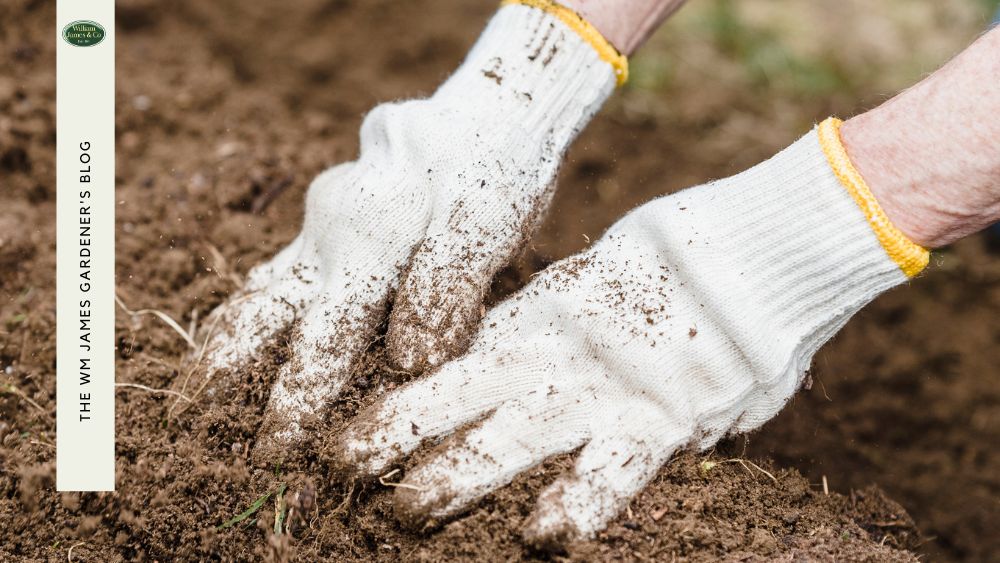
Want to start growing your own produce, but don't know where to start? From the experts at William James & Co., we bring you the guide to preparing your vegetable garden for spring — beginners edition, so you can build a successful patch from scratch.
Vegetable gardening isn't easy, but it is rewarding. To give yourself the best chance of a high yield come harvest season, you need to put the initial prep work in.
And what better time of year to start than in Spring?
A Quick Overview…
- Start early in spring by clearing weeds, debris, and testing your soil’s pH (ideal range 6.0–7.0) before adding compost or organic matter.
- Improve soil texture by mixing in sand for drainage or topsoil and manure for depth and nutrients.
- Choose a sunny, level spot with good access to water, and plan your layout for easy crop rotation.
- Control nearby weeds and pests naturally using mulch, companion planting, and tidy borders.
- Leave prepared soil to rest for a week or two before planting hardy spring vegetables like lettuce, radishes, and tomatoes.
In this guide, we'll take you through step-by-step just how to prepare your vegetable garden during the busiest season in the garden, including other seasonal steps and common mistakes to avoid.
We'll have you growing your own produce in no time!
Before we get into it, as with most gardening tasks, you need tools. So, if you need a few extras or you're in desperate need of an upgrade, there are a few of our recommendations below, perfect for vegetable gardening. Shop today and get free UK delivery*!
-
 Heavy Duty Weed Control - Per RollFrom: £52.80
 -
 Premium Aluminium Walk-In Fruit Cage Frame & NettingFrom: £236.92

-
 Classic Steel Low Vegetable CageFrom: £144.30

Step-by-Step Guide to Preparing Your Vegetable Garden for Spring
Prepping your vegetable garden takes work, but with our easy-to-follow steps, you can create a patch to be proud of in no time.
If you're ready to start making casseroles, soups, and hearty roast dinners with your homegrown produce, let's get into the steps.
#1 Find the Best Spot
First things first, you need to choose your spot. Plants thrive in certain conditions, so here's what you should be looking for:
- Sunny spots that receive some shade (if you have a totally shaded garden, you might find it difficult to get growing)
- Level areas
- Spots that get adequate rainwater (or have easy access for manual watering)
- A spot semi-sheltered from the wind (totally exposed areas might cause havoc in your patch)
Plants, especially veggies, are quite particular about their growing conditions. We'll talk more about this later, but for now, it's essential to choose your spot wisely.
#2 Plan Your Plot
Your second job is to plan and design your plot. You know where you're going to put it now, but this step is all about the details.
Depending on the space you have, you should gather a list of veggies you like to eat, not just the ones that are easiest to grow. After all, it'll be you who eats them!
The amount of variation you can have depends on your garden size, but hopefully, you can fit at least four beds (or rows) of different vegetables.
You should also factor in crop rotation. This is the process of moving your vegetables around your patch to reduce disease, ward off pests, and keep everything happy and healthy.
Plants in the same family (like brassicas, legumes, and root veggies) generally have the same needs, so they should be planted together. Rotation is then made easier because you don't need to track specific plants — just their families.
You can read more about crop rotation here if you're new to the process.
We also recommend factoring in some herbs and flowers. Not only are they nice to look at and provide some excellent flavour to dishes, but some can also deter pests, which is a big help in controlling your environment. This is called companion planting.
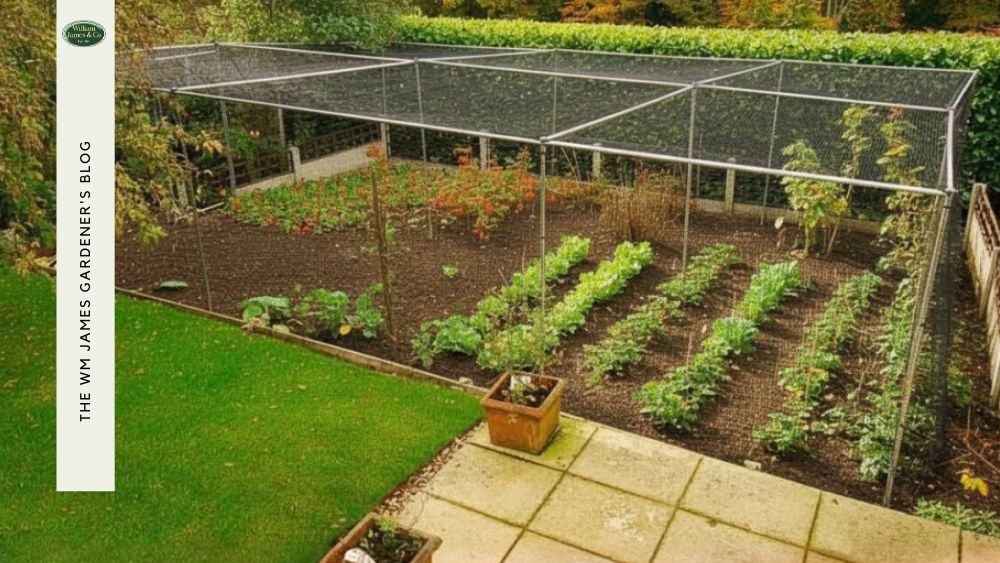
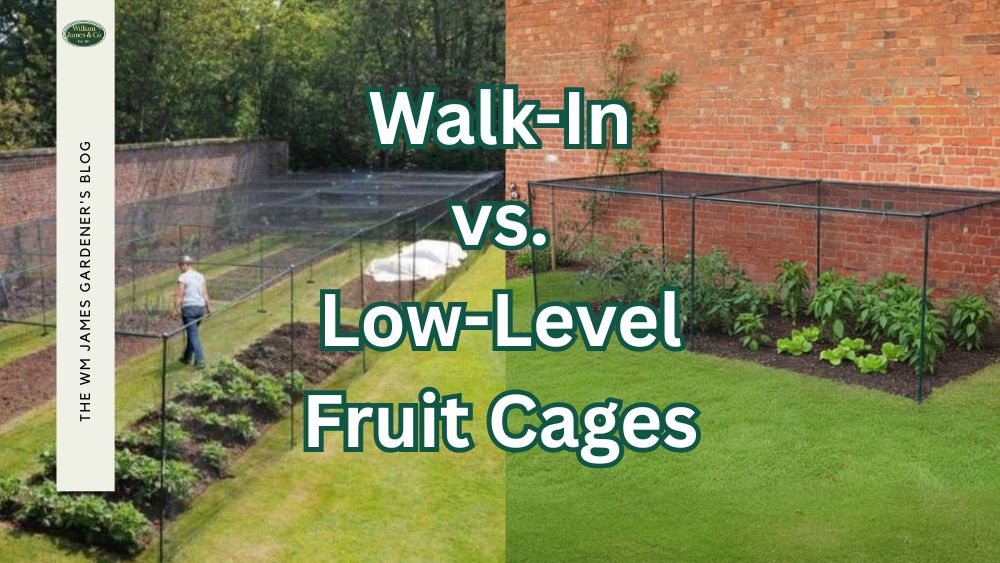
The next step in planning your plot is to decide whether you want to grow your veggies in a cage or not.
Read The Ultimate Guide to Buying Fruit Cages
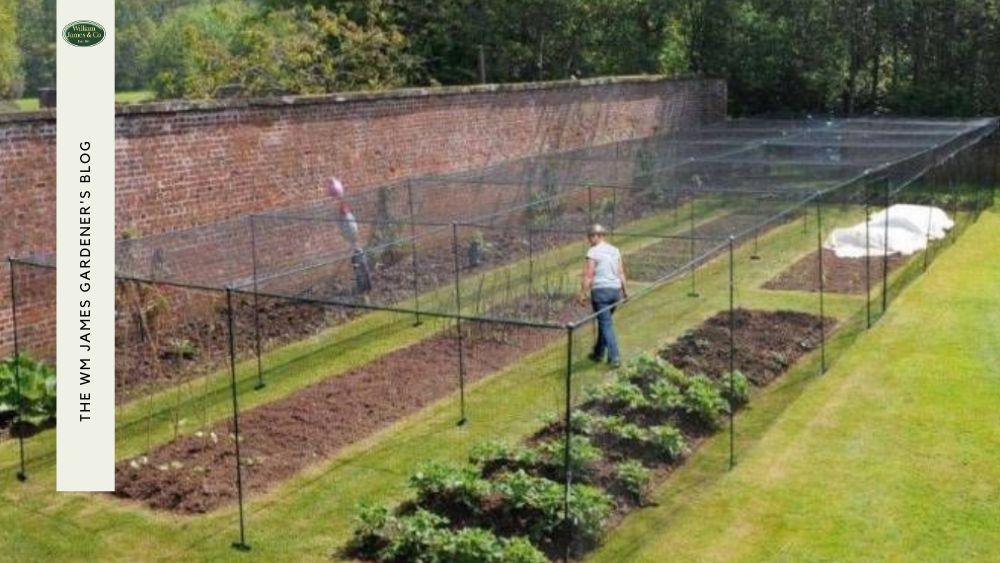
Not only will cage growing neaten up your garden space, it'll also protect your precious plants from pests, strong winds, blazing summer sun (with shade netting), and help you keep your patch organised.
You can shop our selection of cages and garden netting below if you want to give your veggies the best chance of thriving!
-
Classic Steel Low Vegetable CageFrom: £144.30
-
 Premium Aluminium Low Vegetable CagesFrom: £115.64
 -
 Classic Steel Walk-in Fruit Cage Frame & NettingFrom: £327.70


#3 Prep Soil for Planting & Get it Under Control
This is perhaps the most important step, so we decided to create a whole section on it further below. The soil for a vegetable garden will make the most difference to crops, so it's essential to get it right, and to start, you need a blank canvas.
Spring is an excellent time to work with soil, so this season should make things easier for you.
As we said, we'll talk details below, but briefly, here's what you need to do:
- Dig out weeds
- Get control of nearby weed-prone spots
- Test soil pH levels with a kit (neutral is best for most veggies)
- Mix in compost, mulch, and organic matter for nutrients and moisture
- Mix in sand for draining purposes
- Incorporate topsoil if you need more bulk
Your soil is what's going to have the most impact on your vegetables, so making it as healthy as possible will benefit you in the long run.
Oh, we also recommend leaving your soil to rest for a few days/weeks after removing weeds. This way, you'll know if any are likely to regrow and whether you need to take further action.
You can read more on our guide to weeds below!
Discover How to Get Rid of Bindweed
#4 Consider Pest Management
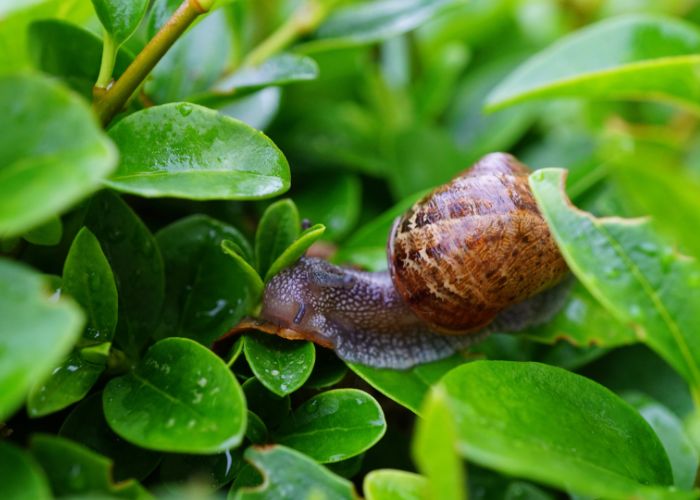
To recap, here are the things we've already spoken about to help keep unwanted visitors off your crops:
- Growing certain herbs and flowers to deter pests
- Opting to grow your veggies in a cage
But what else can you do?
Well, we're not fans of pesticides here at William James & Co., since they often do more harm than good to our gardens, but we understand that you can't just leave pests to wreak havoc. Luckily, there are some more natural deterrents, such as:
- Using eggshells on your soil to deter slugs and snails.
- Check your patch and prune regularly.
- Keep a tidy space (e.g. rake up leaves, clean tools, and clear fallen debris).
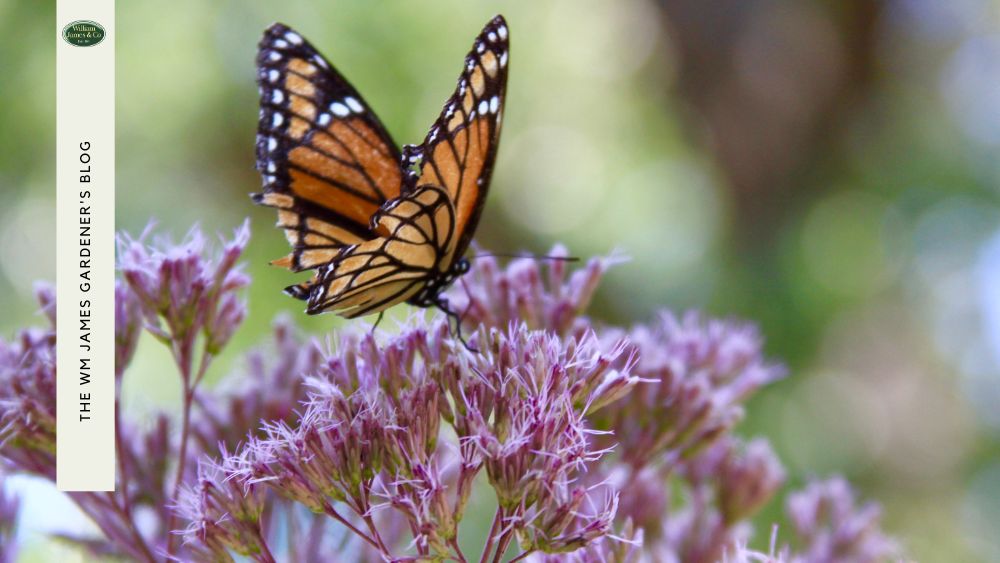
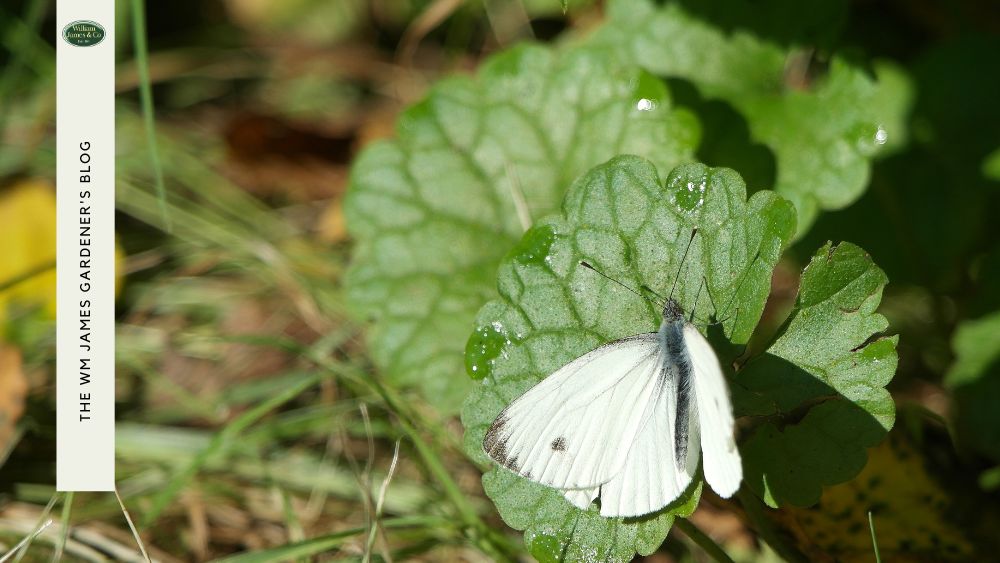
- Encourage beneficial insects (bees, butterflies, hover flies, and ladybirds).
Other than that, be vigilant. Keeping a watchful eye on your veggies can make a world of difference when protecting them from pests, especially during spring, when everything is just starting to wake up again.
#5 Plant Your Crops (But Keep Them Easy!)
Last but not least, you need to plan the type of veggies you want to plant.
We touched on this slightly earlier, but it's important to note what you're growing, when you're growing it, and how you might rotate your beds at a later date.
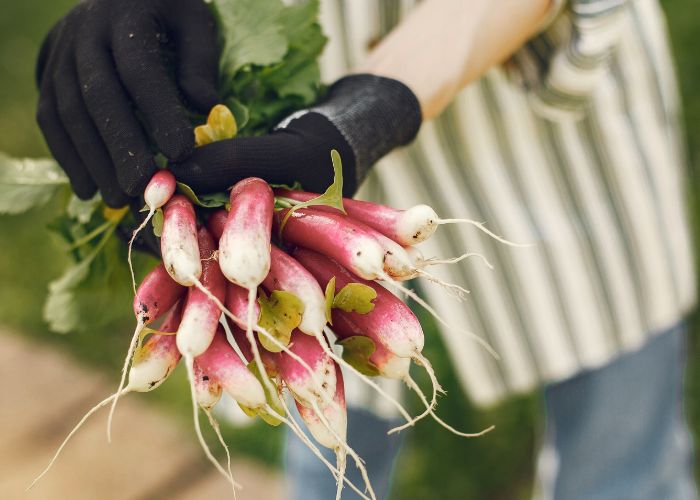
As a beginner, we recommend starting with friendly veggies that don't take much effort. Things like radishes, lettuce, potatoes, and tomatoes are relatively easy plants to grow during spring, especially in perfectly prepared soil.
As we mentioned, we also suggest adding some flowers and herbs to attract beneficial pests and deter those that can ruin a patch. Some spring-loving varieties include:
- Marigolds
- Petunias
- Rosemary
- Basil
Onions and garlic are other great additions for deterring pests, thanks to their strong odours (plus, they're delicious to eat!).
The bottom line is, for your first season, keep it easy, keep it simple, and more importantly, grow the things you want to eat!
Find More in The Essential UK Veg Growing Calendar
How to Prepare Soil for Planting
Now that you understand the steps that need to be taken before you plant your veggies, we need to go into a little more detail about soil prep during spring.
Since the soil for a vegetable garden is one of the highest contributing factors to the success of your crops, we think it's important to get into the specifics.
Essential Equipment
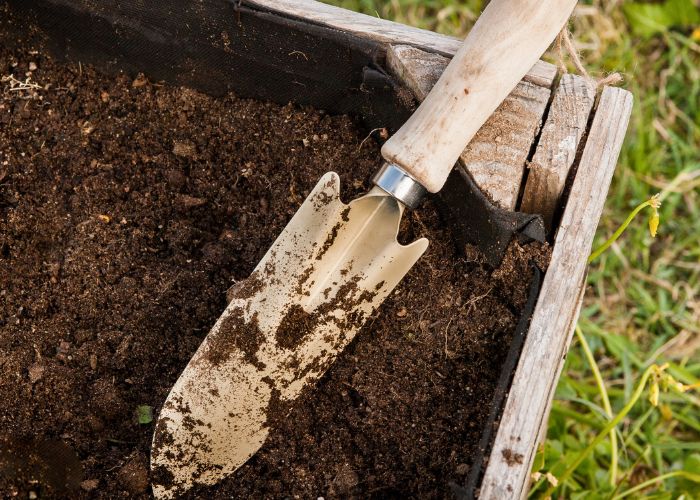
Here are the tools you’ll need to get your soil up to scratch:
- Garden fork, for breaking up and aerating the soil
- Spade/shovel, for digging new beds/rows and unloading topsoil or sand
- Compost scoop, for unloading and scattering compost
- Wheelbarrow, for removing weeds
- Hand trowel, for digging in smaller places
- Rake, for removing debris and levelling out soil
- Soil testing kit, to check the pH levels
- Ground cover, for stopping weed growth in surrounding areas
- Garden gloves, for protection
Now that you've gathered your equipment (and if you haven’t, you can shop our range of professional tools below!), it's time to prep the soil for planting.

Step 1) Clear the Area and Dig Out Weeds
Start by removing all visible weeds, roots, and old plant debris from your growing area. This might take some time, but it's important to do so thoroughly, especially since you probably would have had a build-up over winter.
Use a garden fork to lift deep-rooted weeds, ensuring you get as much of the root system as possible to prevent regrowth.
We don't recommend using chemicals at this stage, as they often do more harm than good, so try your best to get your weed problem under control naturally.
Dispose of weeds in a wheelbarrow far away from your compost heap to avoid spreading seeds. This could cause a huge surge in weed growth throughout your garden, and you certainly don't want that.
Weeds from nearby paths or borders can quickly invade your vegetable beds, too. Keep surrounding areas tidy, and use mulch, bark, or a weed-suppressing membrane to limit regrowth.
Creating a clear border around your plot can also help prevent weeds from spreading back in.
Check out some of our ground cover options below!
Step 2) Test Your Soil's pH Level
Before moving further, test your soil using a simple home pH kit.
Most vegetables grow best in a neutral to slightly acidic soil with a pH between 6.0 and 7.0, so to cater for their needs, you need to be seeing these numbers.
Here's how to troubleshoot problems:
- If your soil is too acidic (below 6), add garden lime to raise the pH.
- If it’s too alkaline (above 7), mix in sulphur or composted organic matter to lower it.
Step 3) Add to Your Soil
Spread a 5–8 cm layer of well-rotted compost, manure, or leaf mould using a hand trowel over the surface of the soil to boost nutrient content and improve structure and drainage.
Work it into the top 20–30 cm using a hand trowel or rotavator if working with a larger area.
You can also complement your organic matter with natural nutrient sources, such as blood, fish, bone, or bone meal. These add essential nitrogen, phosphorus, and potassium.
Avoid over-fertilising, though, as too much nitrogen can lead to lots of leaf growth, but fewer fruits or roots.
If your soil is heavy clay and holds too much water, mix in horticultural sand or fine grit with a spade or shovel to improve drainage and aeration.
For sandy soils that drain too quickly, add extra compost or organic matter to help retain moisture.
Where soil is shallow, compacted, or poor quality, add a layer of high-quality topsoil. Blend it into the existing soil to create a consistent texture and improve depth and fertility.
It's all about trying to create a balance with what you already have!
Step 4) Rake, Level, and Set Your Soil
Lastly, rake the surface smooth and break up any large clumps you may spot.
If you're not working to a time frame, it would be ideal to leave the soil to settle for a week or two before you begin planting.
This allows nutrients to stabilise and gives any remaining pesky weed seeds a chance to germinate, so you can remove them before sowing.
Step 5) Cover and Protect Beds (If Necessary)
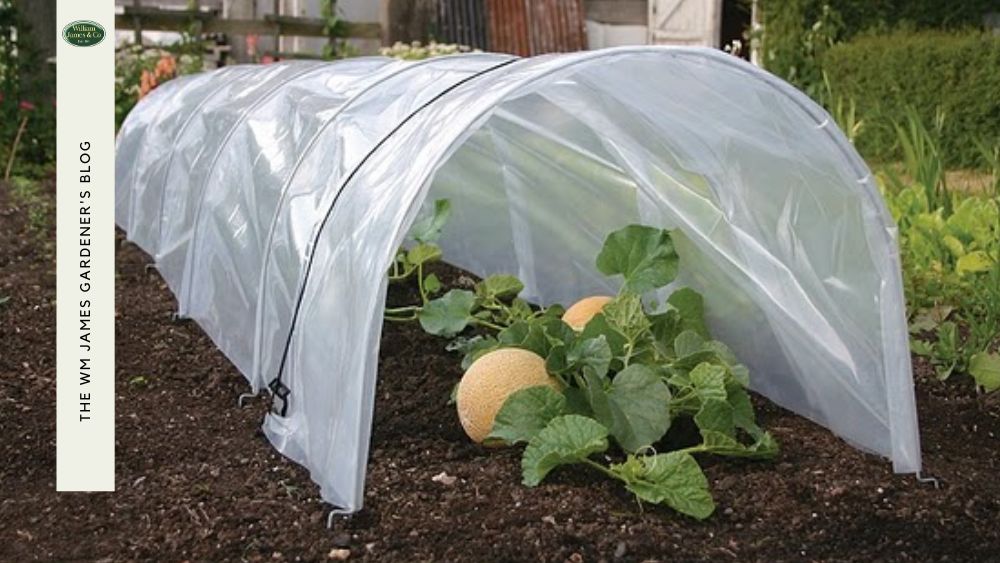
If you’re preparing soil ahead of time, cover it with a garden fleece or cloche.
This helps maintain warmth, protects from heavy rain or frost, and keeps your soil in perfect condition until you’re ready to plant.
Although this step probably isn't necessary if you're preparing your garden in spring. We only recommend this for autumn/winter gardeners.
Tips on Seasonal Vegetable Garden Preparations
As you now know, spring is the best time to get going with your vegetable garden preparations, but what do you do if March isn't for another 8 months, and you want to start now?
Well, no worries, because work can still be done throughout the year to help you get a head start on your veggie patch.
Depending on the time of year, there will be certain things to bear in mind, so let's discuss:
Planting a Garden in Winter
Winter is a time for protection, planning, and preparation. While you can plant some veggies throughout this season, if you haven't got your patch going yet, it might be a good idea to take a back seat and do some proper prep.
Here are some of our recommendations:
- Avoid working on frozen or waterlogged soil to prevent damaging the structure.
- Add well-rotted compost or manure to empty beds, and cover with mulch or black plastic to keep the heat in.
- Check drainage—standing water can suffocate roots and compact soil.
- Clean and sharpen tools ready for spring.
- Plan your crop layout for next season. You can always make adjustments as time goes on.
- Order seeds early and choose varieties suited to your soil type.
- Protect perennial crops such as rhubarb and asparagus with a layer of mulch (if you've already got plants on the go).
Planting a Garden in Summer
Summer is about maintaining healthy soil and preparing for successive crops. It's also a busy time of year in the garden, but an enjoyable time at that, so make the most of it. Here are our suggestions:
- Keep soil moist with regular watering, ideally early morning or evening, so the sun doesn't scorch any initial plants.
- If you've started planting, feed hungry crops like tomatoes, courgettes, and cucumbers every 2–3 weeks with an organic liquid feed.
- Weed frequently—even short droughts can’t stop persistent summer weeds.
- Harvest regularly to encourage continual production and prevent plants from bolting. Of course, this only applies if you're through the early prep stages.
- Prepare space for second sowings, such as salad leaves, beetroot, and radishes.
- Watch for pests like slugs and aphids. Hand-pick them or use organic deterrents.
Planting a Garden in Autumn
Autumn is the time to restore, repair, and prepare your soil for the next season if you don't fancy growing anything tricky over the winter:
- Clear spent crops and dig out weeds to prevent overwintering pests and diseases.
- Add a thick layer of compost or manure to enrich and protect the soil over winter.
- Test soil pH and apply lime if needed to correct acidity before spring.
- Cover bare soil with mulch, fleece, or cardboard to protect it from heavy rain.
- Store tools and clean pots before colder weather sets in.
- Plant garlic, onions, and overwintering broad beans in well-drained soil.
Common Mistakes for First-Time Gardeners (and How not to Make them!)
Vegetable gardening can be difficult, especially if you haven't got the prep right. You might be left wondering what you're doing wrong.
Even experienced gardeners can make a few missteps when getting their vegetable garden ready for spring, so there's no shame — we've all been there!
Here are some of the most common preparation mistakes, and how to make sure you don’t repeat them:
- Rushing to work the soil too early: One of the biggest mistakes is digging or tilling when the soil is still wet. This compacts the soil and damages its structure, making it harder for roots to grow.
- How to avoid it: Wait for spring to work its magic on the soil first, preferably until the soil is moist but crumbly. A good test is to squeeze a handful. If it forms a ball that easily breaks apart, it’s ready.
- Ignoring soil pH and nutrient balance: Many gardeners skip soil testing, which can lead to nutrient deficiencies or poor plant growth.
- How to avoid it: Test your soil pH every year or two. Add lime to raise acidity or sulphur/organic matter to lower it, and top up with balanced compost or fertiliser as needed.
- Leaving old weeds or roots in the ground: Even small root fragments can regrow quickly, choking out new seedlings.
- How to avoid it: Thoroughly dig out all visible weeds and roots before planting. Dispose of them instead of composting, especially if they’ve gone to seed.
- Over-fertilising the soil: Too much fertiliser, especially nitrogen, can cause leafy growth at the expense of fruits and roots.
- How to avoid it: Use slow-release or organic fertilisers, and always follow recommended amounts, or opt for natural remedies only. Remember, more isn’t always better.
- Not preparing early enough: Waiting until the day of planting to prepare your soil often means poor results.
- How to avoid it: Start a few weeks ahead. Dig, amend, and rest your soil so nutrients can settle and microorganisms can rebalance before sowing.
Conclusion: Creating a Veggie Garden to be Proud of!
The preparation of your veggie garden in spring is crucial to its success, and by taking the time to get it right, you'll be setting yourself up with an extremely rewarding harvest!
You know what they say, the key is all in the prep.
So, if you're ready to start your spring vegetable garden with a bang, follow our steps to success! Vegetable growing is made that much easier when you've taken the time to lay solid foundations during the preparation.
If you're looking for more help and advice on vegetable gardening, head to our blog, where we have a lot of useful information.
If you still have questions, please don't hesitate to contact us! With over 60 years in the horticultural industry, we know a thing or two to help you get your spring veg garden up and running!
*Available on orders over £100.
FAQs
What Do I Add to My Spring Vegetable Garden Before Planting?
It's a good idea to add compost or organic matter, like well-rotted manure and bark. This will keep your soil healthy, well-draining, and provide moisture retention, allowing it to provide the right nutrients the plants need to grow and thrive.
If you haven't started your compost heap yet, get one going today! Having your own supply of organic matter to spread and mix into your soil will be extremely handy and save you some money!
What is the Best Soil for a Vegetable Garden in Spring?
As with most gardens, a spring vegetable garden needs a well-draining soil that can hold nutrients, including water, with a crumbly texture to allow roots to develop and thrive.
A well-draining soil tends to be a mix of organic matter (like compost), sand, and topsoil, often clay, too.
To learn more about soil for your spring vegetable garden, head to the blog post above!
When Should I Start Getting My Garden Ready for Spring?
It's important to start preparations early, because you don't want to start when the warm weather is already here.
The best thing to do is wait until the last frost, when the days are getting a bit longer and brighter. This time of year tends to be early-mid March, but be sure to use your judgment.
Do I Need a Vegetable Cage for My Vegetable Garden?
A vegetable or fruit cage can be an excellent addition to your vegetable garden if you're trying to keep pests at bay and create a dedicated space for your veggies to grow and thrive.
As specialists in garden cages, we at WMJ have a selection of fruit and vegetable cages, perfect for your brand new vegetable garden. Shop yours here and set yourself up for a plentiful harvesting season!
What is Best to Put at the Bottom of a Raised Garden Bed?
If you plan to container-grow your veggies, filling the bottom is all about creating a foundation that promotes healthy plant growth while ensuring proper drainage.
Start by placing a layer of organic matter, such as cardboard or newspaper, which will decompose over time and add nutrients to the soil.
On top of this, you can add a layer of coarse material like straw, wood chips, or small branches. This helps with air circulation and drainage, preventing water from pooling at the bottom of the bed.
Finally, fill the remainder with a high-quality soil mix that includes compost to ensure your plants have the nutrients they need to thrive.


 RSS Feed