The Beginner's Guide To The No-Dig Gardening Method
- Admin
- WM James Gardening Blog
- 27 Sept 2025
-
29views
So you've finally nabbed an elusive allotment plot, but the Ts & Cs state no digging allowed! Thankfully, you don't have to cover the plot in potted plants thanks to the no-dig gardening method.
Being able to create a fruitful allotment of bountiful harvests and stunning local blooms without digging the ground is no mean feat, but it's not impossible, especially with the right know-how.
In this guide, we'll tell you everything you need to know to set up a no-dig garden and how to get the most out of it.
Quick No-Dig Facts:
- What it is: A sustainable way of gardening that avoids digging, instead building fertile soil by layering compost and organic matter.
- Why it works: Protects soil structure, reduces weeds, and encourages healthy microorganisms – all while saving time and effort.
- Getting started: Lay cardboard, add organic matter, top with compost, and plant directly into the surface layer.
- Best for: Allotments, urban gardens, or anyone wanting to grow vegetables, herbs, or flowers without heavy labour.
- Things to note: While easier than traditional methods, you’ll still need to add compost regularly and watch out for pests like slugs.
When Should I Use No-Dig Gardening?
No-dig gardening is an excellent choice in a variety of situations. For instance, it is often a condition of many allotment plots that traditional digging methods may not be permitted to preserve the soil's ecosystem.
Similarly, those renting properties with gardens may find they are restricted from making significant changes to the landscaping, making no-dig gardening an ideal solution.
This unique method can also be particularly beneficial if the physical demands of digging out beds are too strenuous, whether through time constraints, health concerns, or simply personal preference.
By avoiding the need to disturb the soil, no-dig gardening not only reduces effort but also promotes healthier soil and more sustainable growing conditions.
Essentially, no-dig gardening is very similar to container gardening, but on the ground.
Why Do Allotments Only Allow the No-Dig Method?
Allotments may only allow the no-dig method to preserve soil health, reduce disturbance to soil ecosystems, and promote sustainable practices.
This method can enhance productivity, minimise erosion, and support better water retention, ensuring long-term benefits for gardeners and the environment.
How To Create Allotment-Friendly No-Dig Beds
So, let's get into the nitty-gritty of creating your own no-dig gardening beds to comply with ruthless allotment rules.
1. Lay The Groundwork
Laying the groundwork for your no-dig bed is fairly simple and straightforward; you just need to follow these essential steps:
Pick a Good Location
Start by selecting a location that receives ample sunlight and has proper drainage. Ideal spots ensure your plants thrive by providing the right balance of natural light and moisture.
Clear Heavily Weeded Areas
While the no-dig method minimises soil disturbance, heavily weeded areas need initial preparation. Remove larger weeds or persistent plants to ensure they don't encroach on your new beds.
If you’re plagued by invasive weeds, check out our top tips for getting rid of bindweed.
Define the Beds
Mark out the area for your no-dig beds, creating clearly defined edges. You could use stakes, string, or natural borders to help maintain a clean, organised growing space.
Lay Cardboard & Wet It
Cover the marked area with a thick layer of plain, non-coated cardboard to smother existing weeds and grass. Wet the cardboard thoroughly to keep it in place and encourage it to break down faster, aiding soil health.
Add Well-Rotted Organic Matter
Spread a generous layer of well-rotted organic matter, such as manure or leaf mulch, over the cardboard. This creates a nutritious base for your plants and boosts fertility.
Choose Compost & Add a 10-15 cm Layer
Top the organic matter with a 10-15 cm layer of quality compost. Pick compost that's rich in nutrients and free from contaminants to ensure robust plant growth. This layer becomes the planting surface for your crops.
You can use a variety of materials, including:
- Homemade compost
- Well-rotted animal manure
- Leaf mould
- Mushroom compost
- Green waste compost
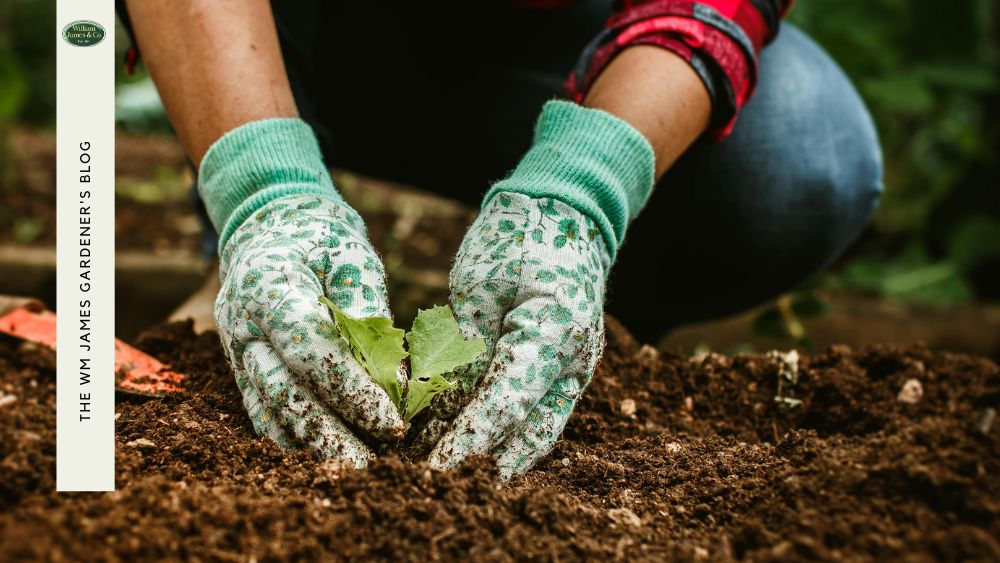
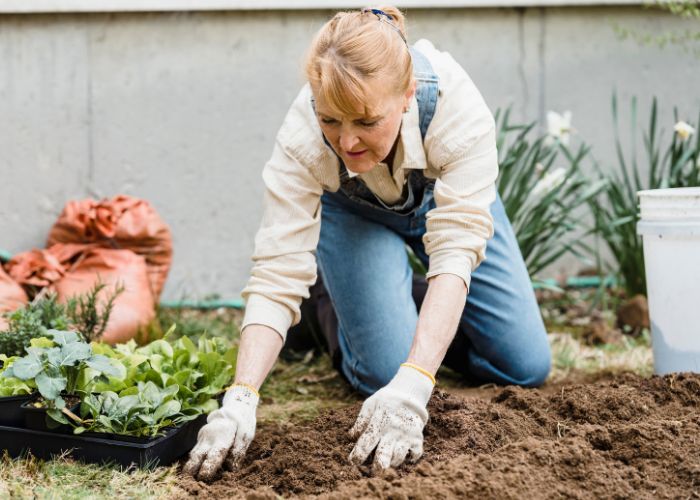
2. Start Planting
Once your compost layer is in place, you can begin planting immediately. For a no-dig garden, you plant directly into the compost layer, which provides a nutrient-rich foundation for your crops.
Whether you're using seeds or transplanting seedlings, the process is straightforward.
For seeds, sow them evenly across the surface, following the recommended depth and spacing for each plant.
If you're planting seedlings, create a small hole in the compost layer, just deep enough to accommodate the roots, and gently place the seedling into the hole.
If cardboard is part of your base layer, ensure the hole goes through the compost and into the cardboard if needed, as roots will eventually penetrate and grow through it.
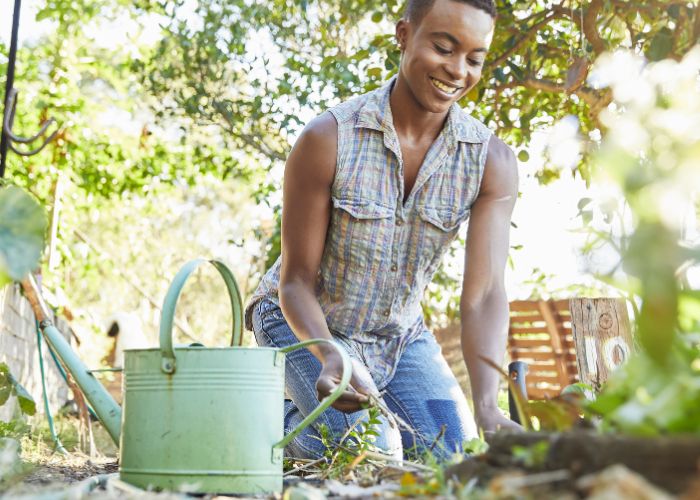
Once planted, water thoroughly to encourage healthy root establishment.
3. Master the Basics of Maintaining No-Dig Gardens
Once your no-dig garden is planted, there are a few basic maintenance tasks to keep it thriving.
Complete weed control is essential. Make it a habit to check regularly for any weeds that may appear and remove them promptly to prevent competition for nutrients.
Mulch the paths between your garden beds to suppress weeds further and maintain a neat growing area.
It's also important to top up your garden beds annually with 2-5cm of compost. This replenishes organic matter, nourishes the soil, and continues to support the healthy growth of your plants.
4. Learn New Gardening Skills
Once your no-dig beds are established, they provide a fantastic opportunity to develop and refine various gardening skills.
Harvesting crops becomes a rewarding experience as you learn the best techniques for picking fruits and vegetables at their peak ripeness.
You can also explore the art of succession planting, where you maximise productivity by continuously planting crops throughout the season to ensure a steady supply of fresh produce.
These beds also encourage experiments with companion planting, crop rotation, and even seed saving, enabling you to deepen your understanding of sustainable gardening practices.
Our Top No-Dig Gardening Tips
That all sounds pretty easy, but if you're brand new to gardening, it might still feel a little overwhelming, so here are some of our top no-dig gardening tips from our resident green-fingered experts!
How to Deal With Weeds in No-Dig Beds
Weeds in no-dig beds are manageable with the right approach and a little persistence.
- Start by smothering any existing weeds with a thick layer of organic mulch, such as straw, wood chips, or compost. This blocks sunlight, preventing weed seeds from germinating.
- If stubborn weeds do appear, gently remove them by hand, ensuring you extract the roots to avoid regrowth.
- Regularly topping up the mulch will further suppress weeds and maintain the health of your soil.
Remember, staying vigilant and addressing weeds early will keep your no-dig beds thriving and weed-free.
Choose the Right Plants To Thrive in a No-Dig Garden
When selecting plants for a no-dig garden, many vegetables, fruits, and flowers thrive due to the rich, undisturbed soil structure and enhanced organic matter.
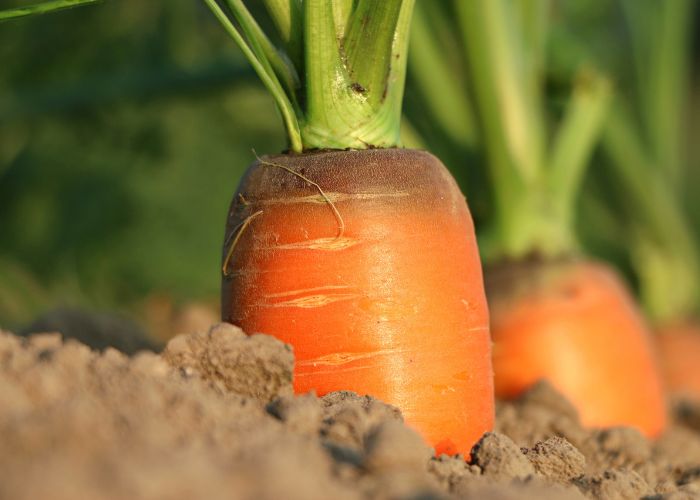
- Root vegetables like carrots and parsnips are excellent choices, as they benefit from the loose, aerated soil that forms naturally in no-dig systems.
- Leafy greens, such as spinach, lettuce, and kale, also do well since they enjoy the nutrient-dense top layer of soil replenished by added compost.
- Fruit-bearing vegetables like tomatoes, cucumbers, and zucchini flourish in no-dig gardens because their extensive root systems can spread easily through the healthy, moist soil.
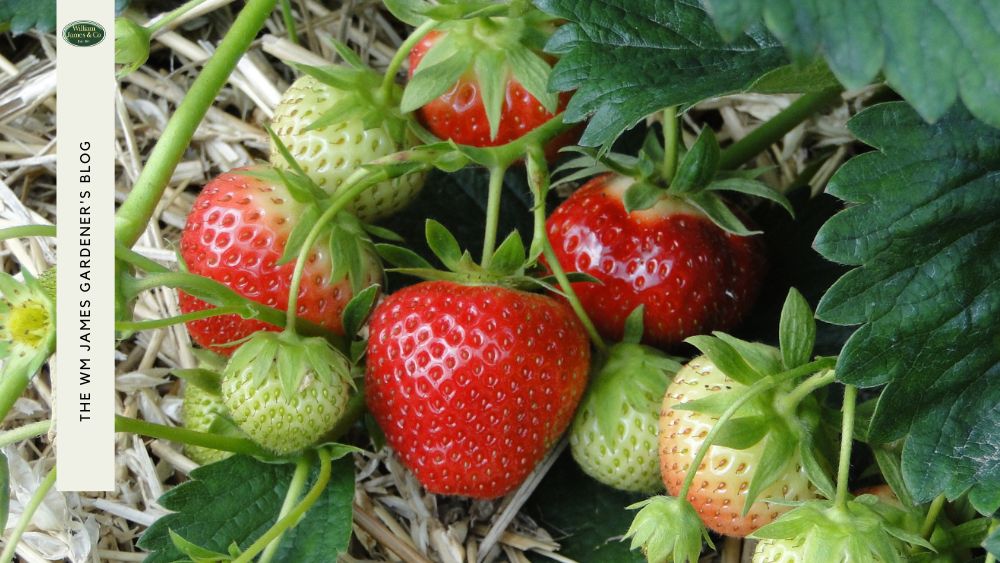
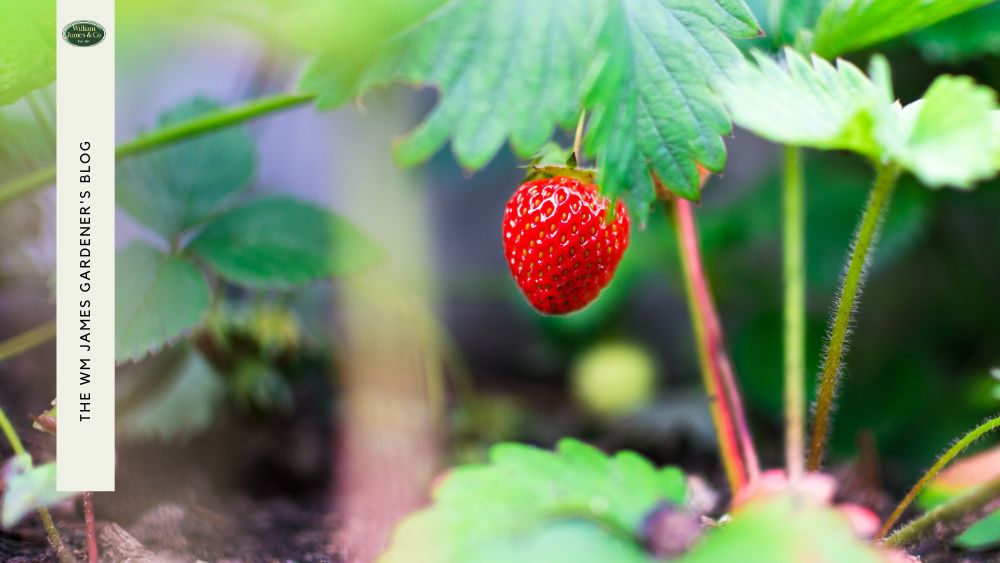
- Strawberries and herbs such as basil, parsley, and thyme are perfect candidates for smaller spaces within your no-dig beds.
The undisturbed soil encourages beneficial microorganisms and worms, which help promote plant growth and resilience, leading to abundant yields with less effort. You could even try eating with the seasons with your no-dig garden.
Check out our guide to growing root vegetables to get a bountiful harvest!
Remember No-Dig Doesn't Mean No-Work
While no-dig gardening eliminates the need for traditional digging, it doesn’t mean it’s entirely effortless.
You'll still need to transport and apply significant amounts of compost to build and maintain the nutrient-rich layers your plants require. A sturdy wheelbarrow becomes an essential tool for moving the compost efficiently around your garden.
Once the compost is in place, levelling it with a rake is necessary to prepare the beds for planting.
This effort gives your beds an even surface and proper distribution of nutrients, which are crucial for healthy and productive plants.
What To Do About Clay Soil
Building no-dig beds on clay soil can be tricky, but with proper prep, it can become a great base for plants.
First, cover the clay with a thick layer of organic matter like compost, aged manure, or leaf mould. This layer smothers weeds, improves drainage, and brings in helpful critters like earthworms, which will aerate the soil and mix in the organic stuff over time.
Then, put down a layer of cardboard or newspaper right on the soil before adding your compost. This blocks weeds and grass, and as it breaks down, it enriches the soil underneath.
Try not to walk on the beds to avoid compacting the soil. Keep adding organic mulches regularly to boost fertility and help the clay turn into rich, workable soil.
With a little effort, your clay soil can support thriving no-dig beds.
What To Do About Stony Soil
Building no-dig beds on stony soil can be tricky, but it's definitely doable.
- First, clear off any large rocks from the surface to get a somewhat level base. You don't need to get every single stone; smaller ones actually help with drainage and usually won't bother your plants.
- Next, put down a thick layer of cardboard or newspaper, just like you would with other soil types. This layer smothers weeds and starts improving the soil below.
- Then, add a generous amount of compost and other organic matter. Making this layer deep is really important for stony ground, as it gives plants plenty of space to root without hitting rocks.
Eventually, you'll create rich, fertile topsoil, and those stones beneath won't stop your no-dig gardening success.
What To Do About Uneven Ground
For uneven ground, you'll need to level it as much as possible. You can use a rake or shovel to scrape off any peaks on the ground or get extra soil to fill in the troughs, whichever is more appropriate to the unevenness.
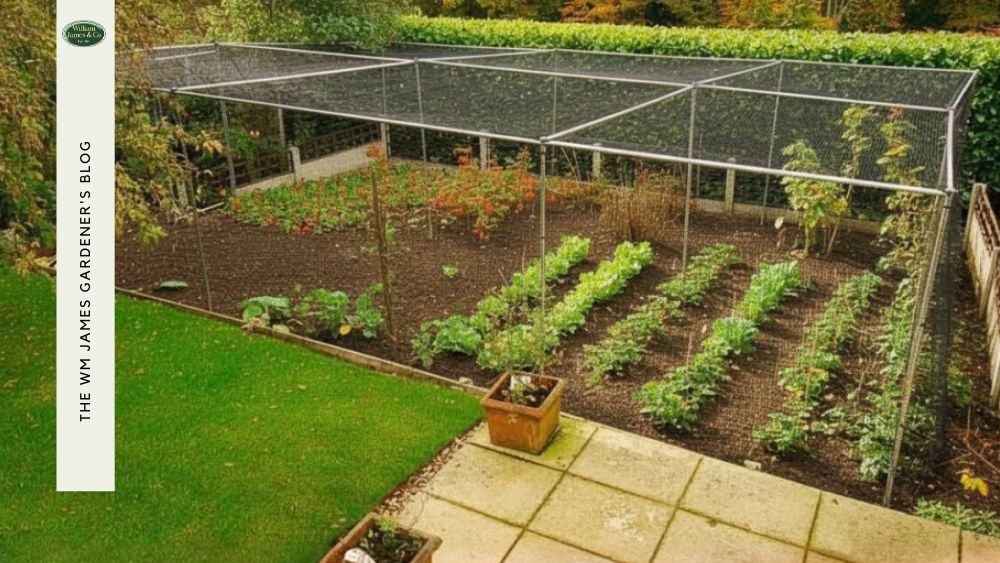
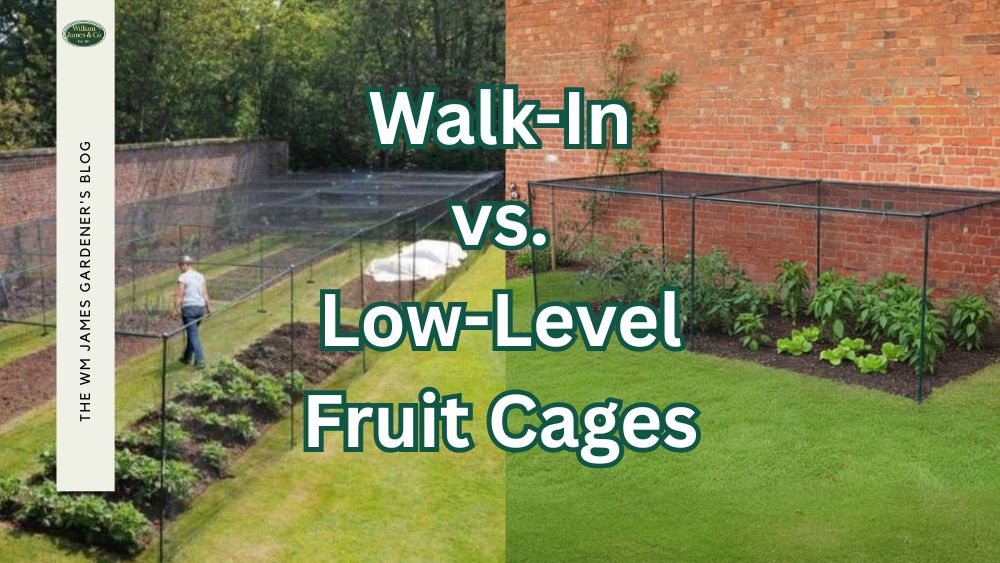
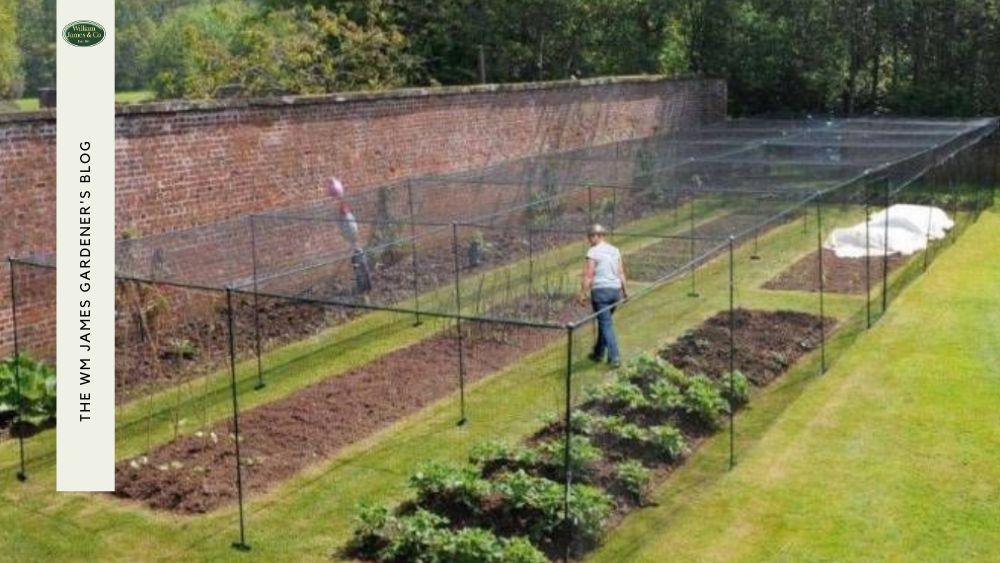
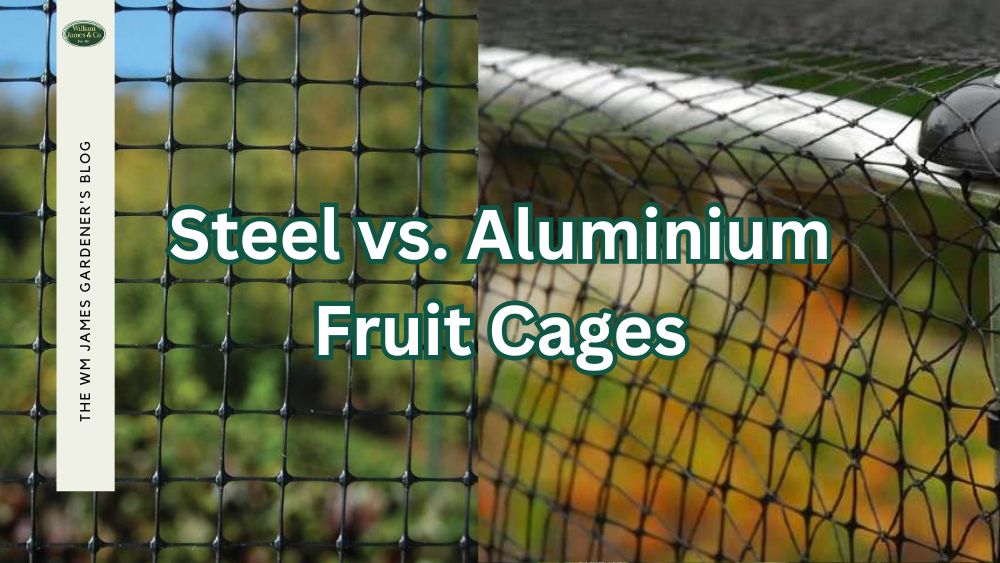
Protect Your No-Dig Garden With A WM James Fruit Cage
-
 Classic Steel Low Vegetable CageFrom: £144.30
 -
 Premium Aluminium Low Vegetable CagesFrom: £115.64
 -
 Classic Steel Walk-in Fruit Cage Frame & NettingFrom: £327.70
 -
 Premium Aluminium Walk-In Fruit Cage Frame & NettingFrom: £236.92
At WM James, our fruit cages provide an effective and eco-friendly solution for safeguarding crops from unwanted pests.
Investing in one of our high-quality fruit or vegetable cages ensures that your garden remains pesticide-free while protecting your hard-earned produce from birds, insects, and other potential threats.
These robust structures are designed to be both durable and practical, offering peace of mind and ensuring your plants can thrive in a safe, natural environment.
You can make sure you’re buying the right cage to protect your no-dig crops with our ultimate guide to buying fruit cages.
Explore Our Full Range of Fruit Cages
What Are the Benefits of No-Dig Gardening?
No-dig gardening is great for all gardeners, new or experienced. It saves effort. You don't need to dig or till. Just layer compost and mulch directly on the soil.
This method also cuts down on weeds. The mulch smothers unwanted plants, so you weed less and enjoy your garden more.
Plus, no-dig gardening builds healthier soil. This means better plant growth and bigger harvests with less work.
What Are the Disadvantages of No-Dig Gardening?
No-dig gardening can have downsides, such as the initial cost of mulch and compost, which may be expensive. It also takes time for organic layers to break down and enrich the soil.
Also, pests like slugs may thrive under the mulch, requiring more vigilance to protect your plants.
Final Thoughts: Create Versatile Gardens With No-Dig Gardening
No-dig gardening is an ideal method for creating versatile gardens, especially in challenging spaces like rocky soil or compacted ground. By layering organic material, you can transform difficult areas into thriving gardens with minimal effort.
This approach works for everything from vegetable plots to ornamental beds, offering flexibility and adaptability.
For more gardening tips and inspiration from our expert gardeners, visit the WM James blog today!
Get More Gardening Tips On The WM James Blog
FAQs
Does No-Dig Actually Work?
Yes, no-dig gardening works effectively by improving soil health, retaining moisture, and reducing weeds. It relies on layering organic matter, which promotes natural soil organisms, leading to healthier plants and thriving gardens with less effort over time.
How Long Does it Take For A No-Dig Garden to Break Down?
It typically takes 3-6 months for a no-dig garden to break down, depending on the materials used and environmental conditions. Decomposition speeds up in warmer, wetter climates and when layered with nitrogen-rich and carbon-rich organic matter.
How Deep Should Soil Be For No-Dig?
For a no-dig garden, soil depth should ideally be 15-30 cm to provide sufficient space for plant roots. Adding layers of organic material over time will enhance soil fertility and maintain the necessary depth for healthy growth.
What's the Best Mulch for No-Dig?
The best mulch for no-dig gardening includes straw, wood chips, grass clippings, or compost. These materials suppress weeds, retain moisture, and improve soil fertility as they break down, creating a nutrient-rich environment for plant growth.
Is No-Dig A Solution For Urban Gardening?
Yes, no-dig gardening is ideal for urban spaces. It requires minimal space, improves poor or compacted soils, and is low-maintenance. This approach can maximise growth in small gardens, containers, or raised beds, making it perfect for urban environments.